Quick Leads
How to Repair Circuit Boards: A Step-by-Step Beginner’s Guide
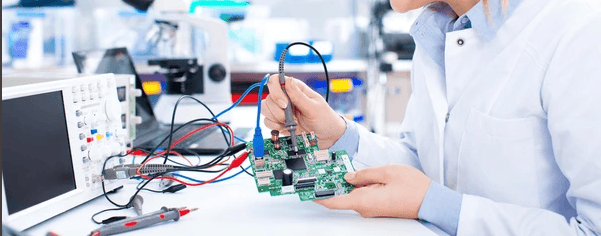
Have you ever opened up an electronic device and found a circuit board that needed repair, but you didn’t know where to start? Circuit board repairs can be intimidating, especially for beginners looking to do DIY circuit board repair at home.
However, with the right tools and a little patience, you can learn how to fix common issues yourself, save money, and extend the life of your electronics. This guide will walk you through the basics of circuit board repair step-by-step.
To repair a circuit board, start by identifying the problem, such as damaged components or faulty solder joints. Gather the necessary tools, including a soldering iron, desoldering pump, and multimeter. Carefully remove damaged parts, clean the board, and replace components or solder joints as needed. Finally, test the board to ensure everything works correctly.
Now that you’ve got the basics down, let’s dive deeper into the process, from identifying issues to testing and verifying your fixes.
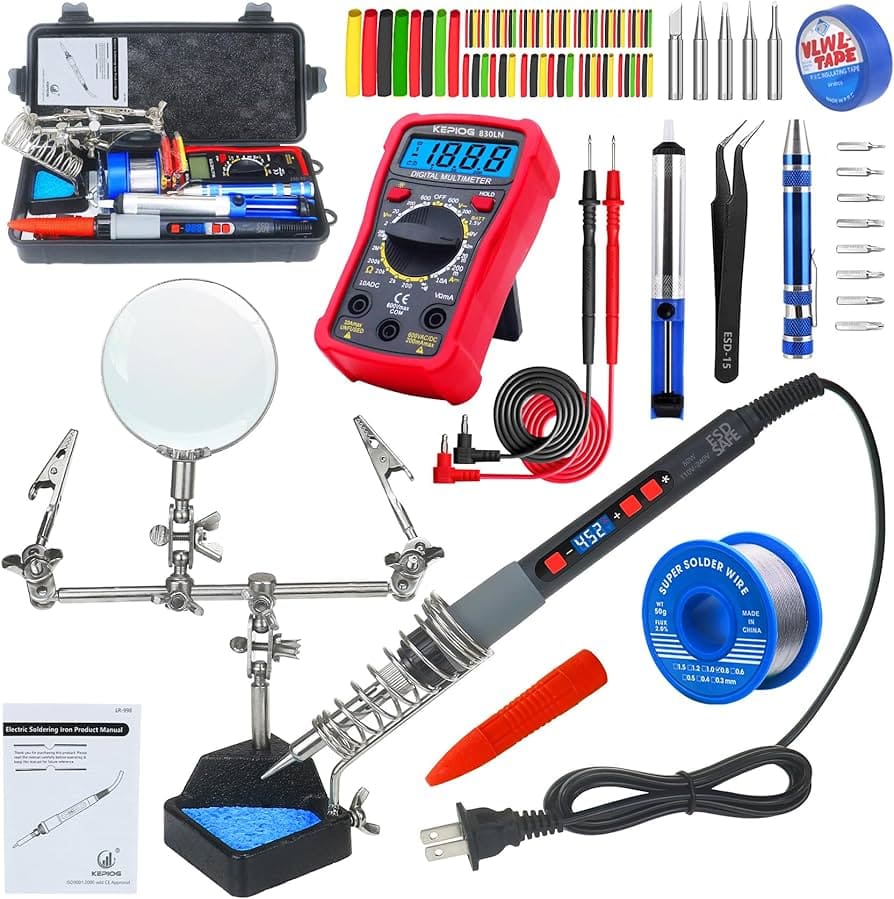
Tools and Equipment for Circuit Board Repair
Before you start, make sure you have the right tools to make your DIY circuit board repair go smoothly and efficiently. Here are the essentials:
- Soldering Iron – A good soldering iron with adjustable temperature control is important so you can solder and desolder components without damaging the board.
- Desoldering Pump or Wick – These tools help me get the old solder off the connections so I can replace damaged components.
- Multimeter – These are essential for checking continuity, voltage, and resistance so I can diagnose and verify circuit integrity.
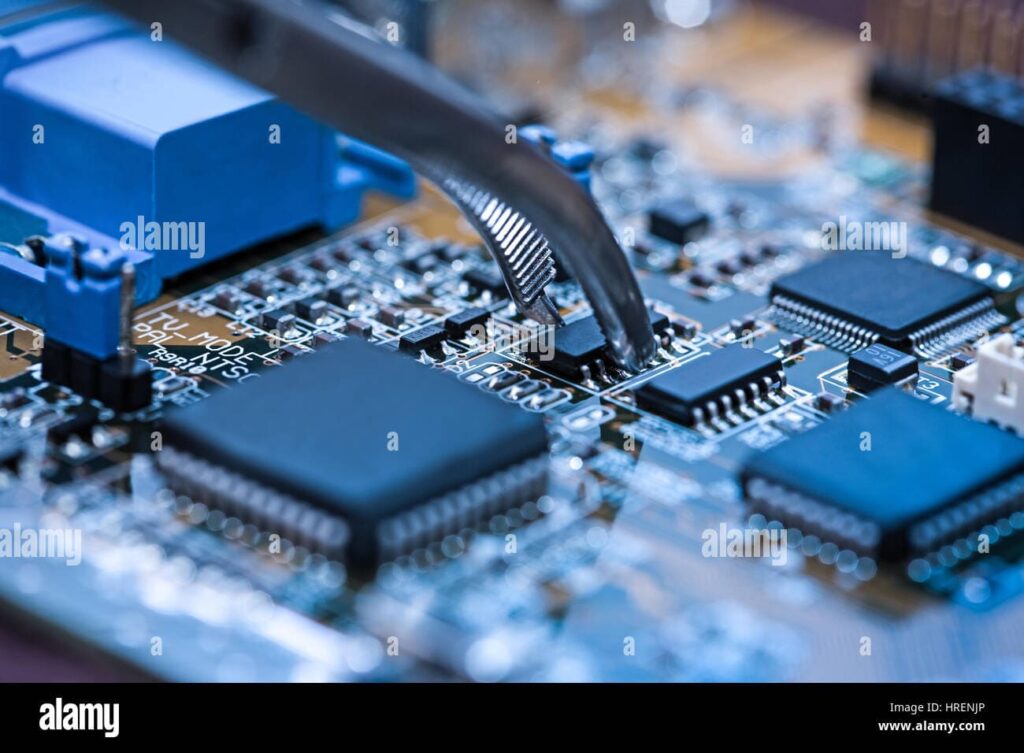
- Tweezers – To handle small components and wires safely and precisely.
- Magnifying Glass or Microscope – Helps inspect small components, cracks, and solder joints closely.
- PCB Holder or Vice – Holds the circuit board in place while you work, so it doesn’t move around and you can be accurate.
- Copper Tape – Used to repair broken traces by reconnecting circuits with damaged pathways.
- PCB Cleaner (Isopropyl Alcohol) – To remove flux residue, dirt, and debris from the board to ensure a clean work environment.
Step-by-Step Circuit Board Repair Process
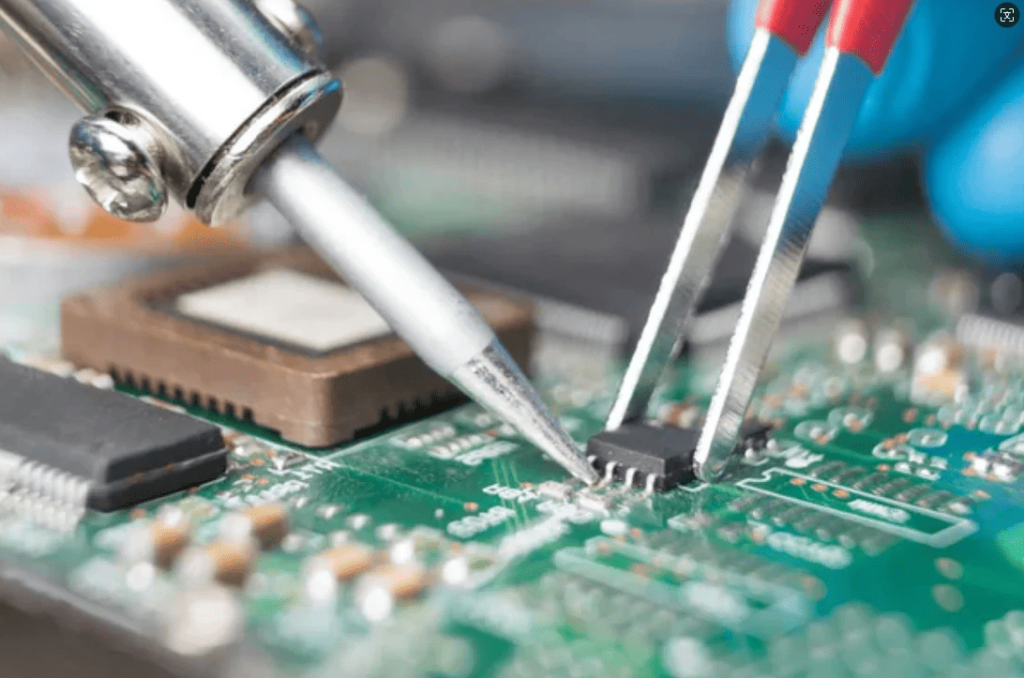
1. Remove the Damaged Components
Use a soldering iron and a desoldering pump to heat up and remove any damaged components (like capacitors, resistors, or IC chips). If the component has multiple pins, desolder each pin individually so you don’t damage the board.
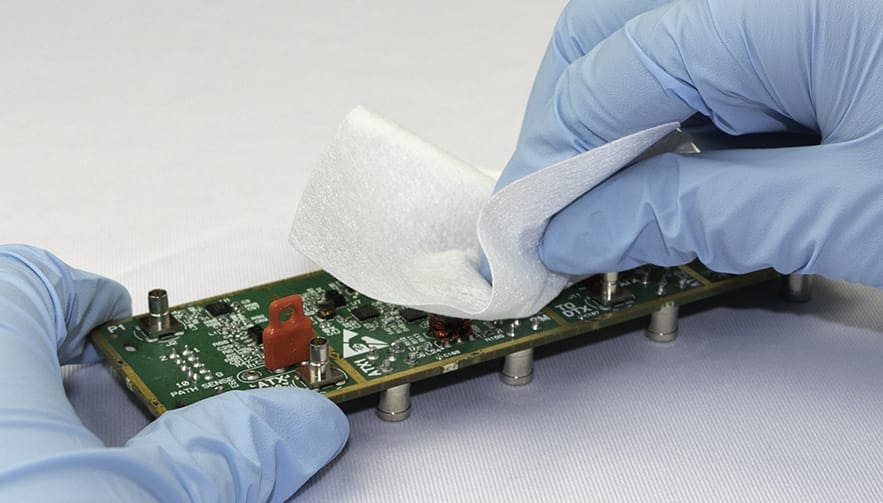
2. Clean the Tracks and Solder Pads
After you take the component off, clean the solder pads and the area around them with PCB cleaner or isopropyl alcohol. This will get rid of any old flux and help the new solder stick.
3. Repair Broken Traces (if necessary)
If there are any broken or corroded copper traces on the board, I use copper tape to patch them. I cut a small piece of copper tape, put it over the broken trace, and solder it in place. Then I trim off any extra tape with a precision knife.
4. Place and Solder the Replacement Component
I put the new component in the cleaned solder pads. Make sure the polarity is right, especially for polarized components like capacitors or diodes. Solder each pin or lead, making sure the solder flows smoothly and makes a good connection.
5. Check and Fix Solder Joints
I check the solder joints to make sure they’re solid and don’t have any gaps or cracks. If a solder joint looks weak, I heat it up again until the solder flows smoothly and bonds with the pad and component lead.
6. Trim Excess Leads
If the component has long leads, I cut off the extra with small wire cutters so I don’t accidentally short something out or mess with other components.
7. Clean the Board
After I solder, I clean the whole area to get rid of any extra flux. This is really important because it helps prevent corrosion and makes sure the repair lasts a long time.
Testing and Verification
Initial Checks
-
Check Visuals and Connections: I check the board to make sure I didn’t miss any solder joints or accidentally connect two components together.
-
Power On the Board:If you can, power up the board and look for any signs of damage, like smoke, heat, or burning smells.
In-Depth Testing
-
Test with a Multimeter: I use a multimeter to measure voltage across key components and make sure the connections are working right.
-
Signal Probing: If you have one, use an oscilloscope to check the signal at different points in the circuit to make sure everything is working right.
-
Test in Real Conditions:Once the board looks like it’s working, I put it in the actual device to make sure the repair worked.

For more information, visit below:
For more insights on How to Repair Circuit Boards, check out: how-to-fix-pcbs-a-beginners-guide
Frequently Asked Questions (FAQ)
To fix a broken circuit board at home, here’s what you do: get tools like a soldering iron and multimeter, take off the broken parts, clean the board, put new parts on, and test the board with a multimeter. For the full step-by-step guide, check out our detailed process above.
The two most common problems are bad solder connections (cold joints) and leftover flux that can cause corrosion or short circuits. Make sure your solder joints are clean and that you clean off the flux after you fix stuff.
- Start by gathering the tools you’ll need, like a soldering iron, desoldering pump, multimeter, tweezers, and a magnifying glass.
- Carefully remove any damaged pads or components using the soldering iron and desoldering pump.
- Clean the track and remove old solder.
- Apply copper tape to the track if needed, then solder the new component in place.
- Trim excess tape from the repaired area to ensure a clean fit.
- Start by mapping out the circuit board and visually inspecting the surface for broken or damaged components.
- Use a multimeter to check for continuity in the circuit, ensuring no open circuits or breaks.
- Compare with a working board if available to identify discrepancies.
- Troubleshoot using signal probing techniques to isolate defective components.
- Replace any damaged parts, solder connections, and clean up any flux residue before reassembly.
- Connection Issues: Cold solder joints or loose parts can lead to intermittent or complete failures in circuit operation.
- Residual Flux: If flux from soldering is not cleaned properly, it can cause short circuits or corrosion, leading to future repair needs.
- Breaking down the circuit into modules or sections allows you to isolate faulty components more easily.
- Use diagrams or schematics to track electrical flow through the board, making it easier to spot where the fault lies.
- I use a PCB holder or a vice to keep the board steady, and magnification tools to make sure I can see every little detail.
Limited Time Offer:
Get $100 off your order TODAY!
Claim your $100 discount now – this offer won’t last long! Today ONLY!
Don’t miss this chance to save on your next project.
[Hurry! Only 50 discounts remaining!]
 Trusted by 100+ businesses worldwide No hidden fees – transparent pricing Guaranteed quality with on-time deliver
Summary
Fixing circuit boards might seem hard, but with the right tools and a step-by-step approach, even beginners can get good at it. From figuring out what’s wrong with your board, like bad parts or broken traces, to using the right tools to fix it, this guide covers the basics.
Always make sure you test your repairs really well to make sure they worked.
Ready to start fixing your own circuit boards? Give it a try and save your stuff from the trash!
Request for Quote
RECENT POSTS
Understanding Ball Grid Array (BGA) Technology
In this guide, we’ll explore what BGA is, its advantages and challenges, and how it compares to other packaging types like QFP and CSP.
Continue ReadingTop 10 PCB Assembly Manufacturers in Europe
In this guide, I’m going to show you the top 10 PCB assembly manufacturers in Europe. I’ll show you who they are, what they do, and why you should consider working with them.
Continue ReadingWhat Are PCB Conformal Coatings?
Discover everything you need to know about PCB conformal coatings: what they are, the different types, how to use them, and how to choose the right one for your application. This is the ultimate guide for engineers and electronics professionals.
Continue ReadingHow to Repair Circuit Boards
Have you ever opened up an electronic device and found a circuit board that needed repair, but you didn’t know where to start? Circuit board repairs can be intimidating, especially for beginners looking to do DIY circuit board repair at home.
Continue ReadingRELATED POSTS
Leading PCBA Manufacturer
✅ Assemble 20 PCBAS for $0 ✅ Get $100 OFF – Risk-Free Trial!
✅ 100+ Satisfied Customers
✅ Ensured Quality & On-Time Delivery
✅ Free Trial, No Commitments!